Building your own deep learning box.
Building your own deep learning box.
Quick tips and tricks for building a deep learning computer.
Recently I put together a deep learning computer for research:
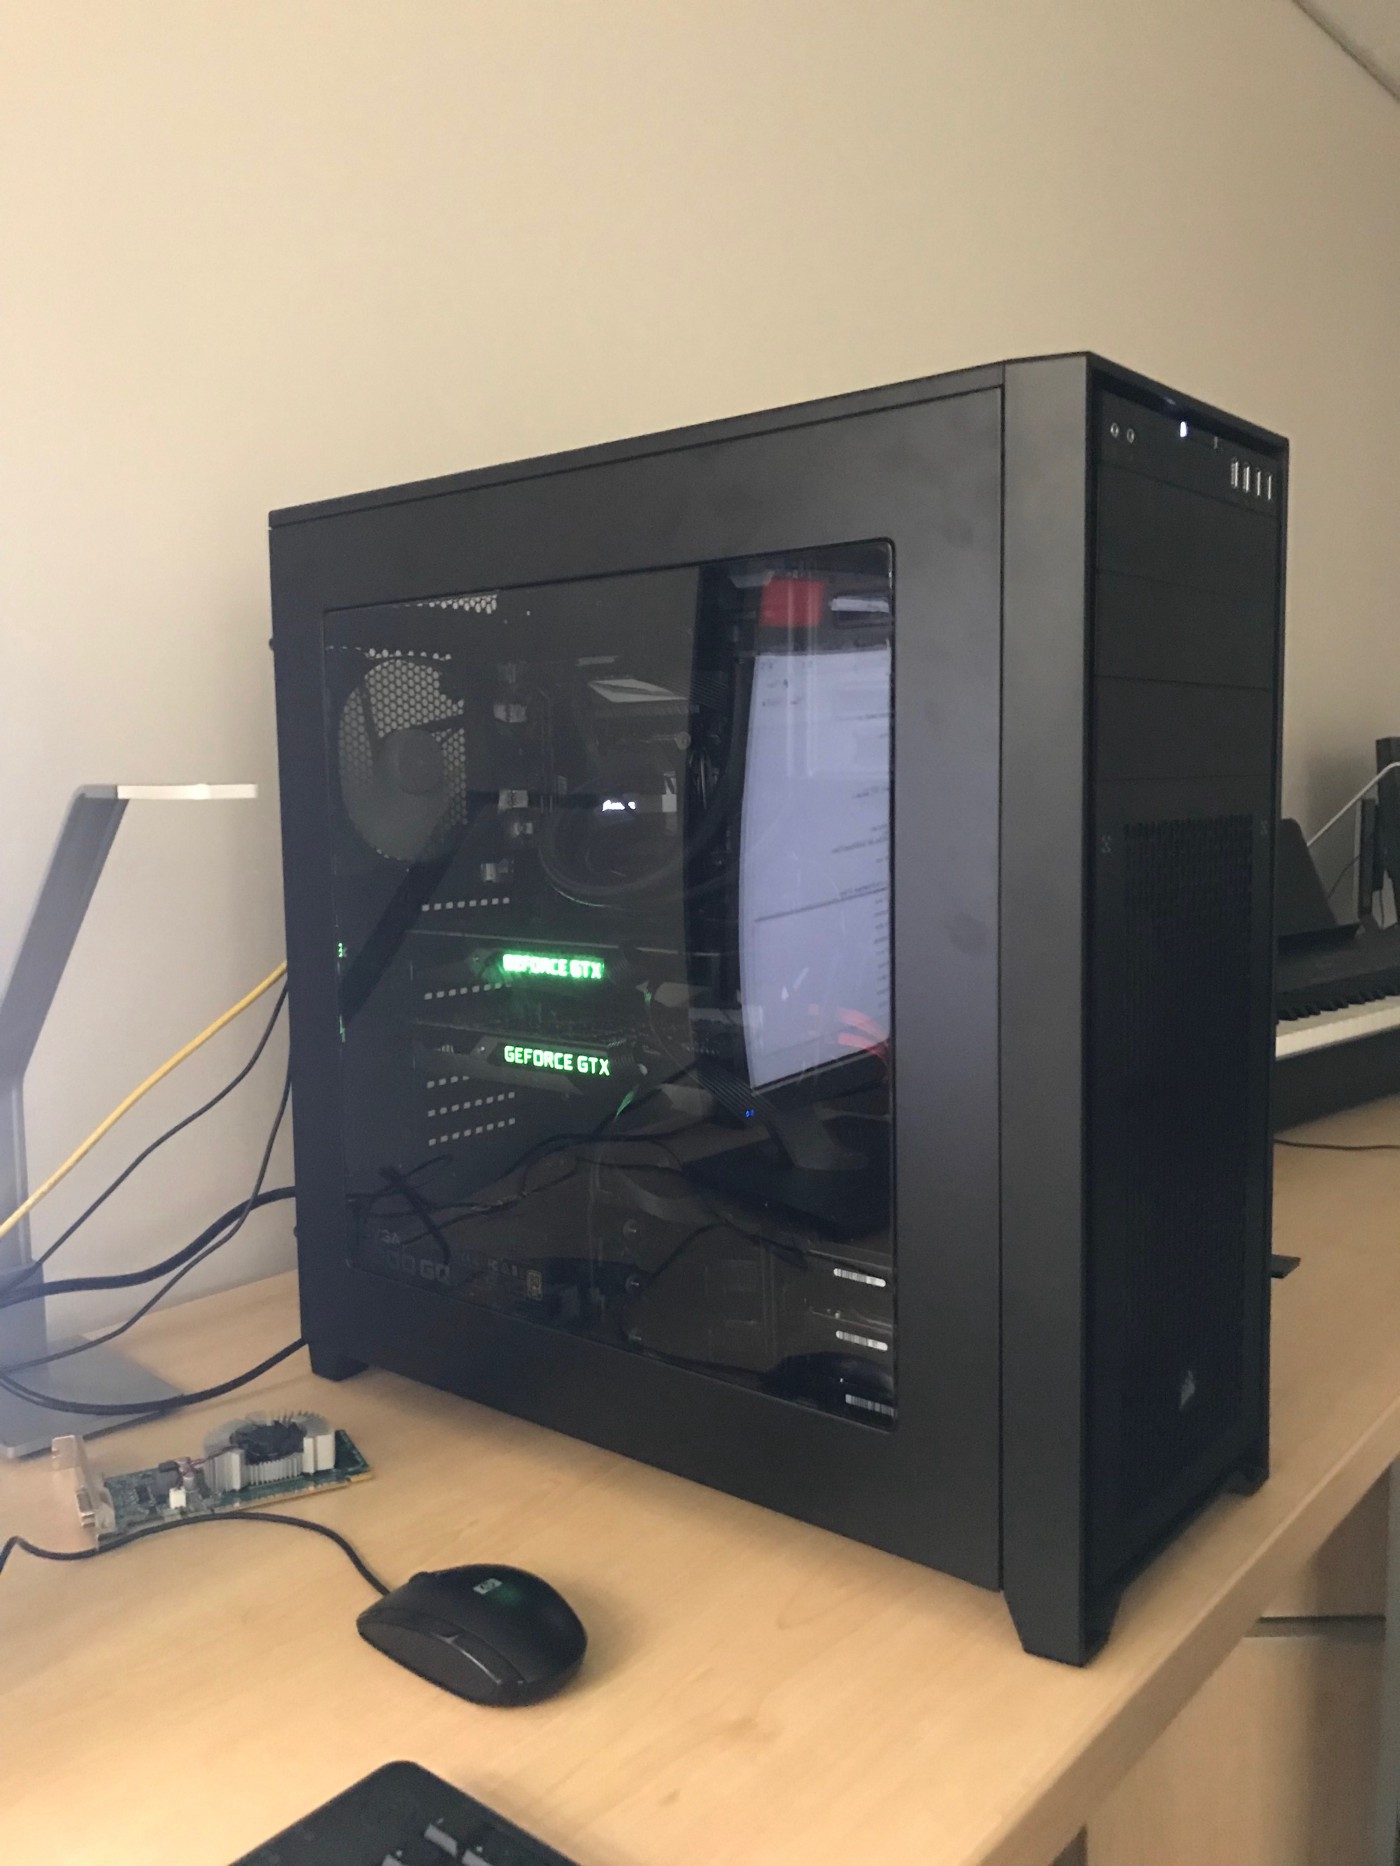
Here are some tips to keep in mind when building your computer, as well as a complete list of parts I used to make the box:
Tip 1
Don’t buy a cheap-o fan/cpu cooler. You will regret it and almost destroy your cpu. Check that the fan will fit on the mount above the CPU before you apply any paste. With the corsair hydro H80 there’s a bit of paste on the pump (the part that affixes to the cpu) so don’t push it down too hard, just make sure it fits. Attaching the fan should not be forceful; it should fit gently on top and then be gently tightened down onto the cpu.
I got a Corsair H80 watercooled system for the cpu. This thing is easy to install. Quick tip: it comes with a bit of thermal paste applied to it. My fan troubles with the cooler master (my other cooler) almost broke my cpu, so having this part work was a relief. You could also go for the Corsair H100 which is designed to work with the top exit on the Corsair 750D case (tip 4):
Hydro Series H80i v2 is an all-in-one liquid CPU cooler with an extra-thick 120mm radiator and dual SP120L PWM fans for…www.amazon.com
Tip 2
Don’t mess up applying thermal paste. Dont get it on the reverse side of the CPU, don’t get it in the cpu pins (the little cubes on the back of the cpu). You only need about a large pea size of thermal paste on the cpu fan’s surface; you can use the paste applicator tip to spread it around until it’s about the size of a quater (maybe a bit more surface area). Try not to leave any gaps. If your paste is bulging out from under the cooler near the edge of your CPU you’ve applied too much. Just get some isopropyl alcohol and put some on a paper towel; use the damp towel to neatly mop up all the paste, then let it dry and re-apply more paste. If you do get paste on the wrong side of the cpu or the motherboard here’s how remedy the situation: Isopropyl alcohol and a few cheap toothbrushes (they will get dirty with paste) and 30 min-1hr of gently brushing and dabbing with a papertowel that wont catch/leave fibers on cpu or motherboard. Do not soak your cpu in the alchohol or use nail polish remover. This is good non-conductive thermal paste:
ARCTIC MX-4 High-Viscosity Thermal Compound has the distinctive characteristics of being non-capacitive, non…www.amazon.com
Tip 3
Make sure your cpu and motherboard have support for mulitple GPUs if you are planning on getting more in the future. Some motherboards have multiple slots but can’t really run the GPUs in those slots efficiently in a simultaneous manner. I got an Intel Xeon cpus because it has enough PCIe lanes to support multiple gpus:
Buy Intel Corp. BX80660E51620V4 Xeon Processor E5-1620 v4: CPU Processors - Amazon.com ✓ FREE DELIVERY possible on…www.amazon.com
I went with the ASUS X99-E for my motherboard, mostly because you can run 3 GPUs (16x16x8) on it and it’s $140:
Get special mobile exclusive deals only from Newegg Mobile. It will help you to search, shop, read reviews and make…www.newegg.com
Tip 4
Make sure to invest in a high airflow case, even for a single GPU. If your GPU is at max temperature it will get throttled; this will lower its performance and maybe lower its lifespan. You don’t want to lower the life span of your gpu or start fires. To remedy overheating you can just get more cool air into your case. I got a corsair high Airflow Corsair 750D, the case just works and motherboard installation was pretty easy:
The Obsidian Series 750D Airflow Edition full tower PC case combines generous expansion flexibility, excellent air or…www.amazon.com
Tip 5
Make sure to hook up all the powercables to the motherboard (HDD LED(+-), PLED (+-), etc). Your motherboard may come with a protector for these plugs. It’s a plug that goes onto the motherboard in that control area (the spot with all the little metal things sticking up where you plug in PLED, etc) and just has the same plugs to avoid breaking one on the motherboard (a $200 mistake). Read the manual for your motherboard; it describes how to hook these up. They control the power button, etc.
Tip 6
Measure temperatures. With a decent airflow case your GPUs should be in the 50–85 C range when working and low to mid 30s idle. Your cpu should be 30–40 C idle and maybe up to 50C if it’s working hard with a watercooling system like the corsair hydro H80 or H100. Use psensor on ubuntu to measure all your temperatures.
Tip 7
Nvidia and ubuntu dont always play nice/work together. This can cause huge problems with the boot cycle. Familiarize yourself with the bios for your motherboard; make sure you know how to reset it to the default if things go wrong. My ram and CPU got out of sync somehow when I moved my motherboard to a new case and it took me 2 hours to figure out what was up and fix it.
Tip 8
Set your cpu cooler fan up as an intake. Mine is on the roof of my case near to the front so that it can merge with the two fronal intake fans. In general it’s a good idea to have more air coming into the case than going out (so I have 3 intakes and one output. It makes lots of cool air come in. It also creates ‘positive pressure’ and helps stop your case from getting dusty. The direction on your fans (case fans and cpu cooler fans) that outputs air is the one with the support structure and struts. Sometimes fans come with arrows on the fan support structure to tell you the dircetion, sometimes they don’t.
Tip 9
Don’t trust a friend who says they know what they are doing to do it for you. Cases, fans, and motherboards are all different and your friend may be unfamiliar with the ones you bought. Get multiple opinions if you are having trouble. Message me on twitter if you have to.
Final Tips
Don’t be afraid to reinstall ubuntu if you mess up the kernel or drivers. I got stuck in an ubuntu login loop and did this once or twice.
Do not hit the xmp switch on your motherboard if you have one. This will screw up a lot of stuff and may cause boot issues. You may hit it by accident, mine lit up a solid green light on the board and had a litte ‘XMP’ written next to it.
Keep a small cheap-o gpu (maybe like this card) around that can run with ubuntu’s nouveau driver (the default driver). The way I installed and rebooted ubuntu the first time was using an nvidia 650. Nvidia driver issues made it very difficult to boot ubuntu the first time.
When in doubt get a Corsair part. Corsair is probably my favorite brand. I ended up buying their ram, their cooler for my cpu, and their high airflow case. Their stuff works well and it makes a difference when you’re trying to put it all together.
Don’t give up. You can do it.
Here are the rest of the parts I got:
A bpx nvme ssd with 500GB of storage, for the operating system and working datasets. Love it, having the os on an ssd makes the computer fast:
Say hello to GB/s : The Next Evolution of Solid State Drives | | MyDigitalSSD Bullet Proof eXpress (BPX) 80mm (2280) M…www.amazon.com
A 1000W EVGA power source, to support around 2–3 gpus(500–750W) + intel xeon cpu (140–150W):
Introducing the latest in the EVGA power supply line-up; the GQ series. These power supplies take some of the best…www.amazon.com
32GB of Corsair RAM, it’s great no complaints:
Vengeance LPX memory is designed for high-performance overclocking. The heat spreader is made of pure aluminum for…www.amazon.com
NVIDIA 1080Ti Founder’s Edition:
https://www.nvidia.com/en-us/geforce/products/10series/geforce-gtx-1080-ti/
NVIDIA Titan Black:
http://www.nvidia.com/gtx-700-graphics-cards/gtx-titan-black/
For other hard drives just get your hands on as many spinning hard drives as you can. You’ll use them to store data.
Returned Parts:
Versa N21 Black SPCC Mid Tower Gaming Computer Case Product Features: Gaming-Oriented Concept: Built for gamers by…www.amazon.com
This case looks pretty but has bad airflow without the extra fans and I thought it was a bit difficult to use. It also looks like it has vents at the top but the dark bits are just aesthetic. Even with one 1080ti gpu and a pretty small asus motherboard it was a very tight fit which was bad for airflow, hard to screw in.
Cooler Master, an industry leading chassis, thermal solution, peripheral, and accessory manufacturer, signals the…www.amazon.com
As far as I can tell this cooler doesn’t really fit on my cpu/motherboard. I fiddled with it for a while and I consulted with a friend of mine whose built a bunch of deep learning servers. The mount is fine; I concluded that the fan has poor worksmanship and simply doesn’t fit comfortably. Maybe mine was defective but I’d say order at your own risk; installing the fan is a spot where you can break the cpu pins if you push too hard, a $300 mistake.
Conclusion
I hope you enjoyed these tips for how to make your own deep learning box. If you like machine learning (and video games) I’m the editor of a newsletter at the intesection of both. You can signup for the Generation Machine newsletter here.