October 2017
Make a Pygame 1
If you are on Windows or Linux, the standard pygame installation will probably work just fine. If you have a mac, you’ll need to install homebrew and python3 via homebrew:
`/usr/bin/ruby -e "$(curl -fsSL https://raw.githubusercontent.com/Homebrew/install/master/install)"` and then `brew install python3`. This will install python3 at /usr/local/bin/python3. If you have anaconda you will need to use this full path to run this python install, then `/usr/local/bin/pip3 install pygame` and this will install pygame, and you can run: `/usr/local/bin/python3 game.py`
Create a character and game loop.
This should produce a game world where you can move left, right, up, and down and press the red exit button in the top left of the window to leave.
Run the game with:
`/usr/local/bin/python3 game.py`This should create a game with a popup window:
We have the blank world of the void. We have our wizard character (a 40x40 png). Even though it looks static in actuality the program of our game is running and re-rendering this world and our character every few miliseconds. Still, this game is not particularly interesting as we can’t move our character, look at a pretty map or do much of anything. Let’s change that in the next section. You can ctrl-c the program we are running on the terminal to exit this game.
Registering events for your character.
If you messed up the “Installing pygame” step events probably wont register on your mac. This could happen if you are using virtualenv or anaconda python. Again go back and install python3 and pygame as indicated above. In this section we are going to register arrow keypresses to make our character move around our empty world.
This should produce a game world where you can move left, right, up, and down and press the red exit button to in the top left of the window to leave, here is a video of that:
Even though we can now move in this world, there isn’t a whole lot there. Let’s fix that by creating an interesting map
Let’s make the world a little more interesting by adding a map.
Our map will be made of tiles, and each tile will be a resource in our game.
You should now have a pretty map of resources:
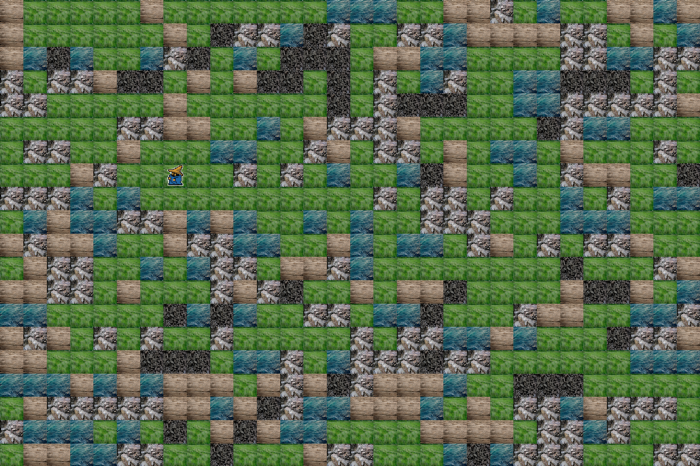
So you can now walk around, and we have a pretty map. Let’s add the ability to interact with this map in some way.
Adding an inventory to keep track of your resources.
This section will add an inventory and a way to pick up resources using the space key.
You should now be able to move, pick up resources and see them increasing in your inventory. You may have noticed it is possible to pick up an infinite amount of dirt. Here is an image of me cleaning out a corner of the map, and you can see the resources in my inventory:
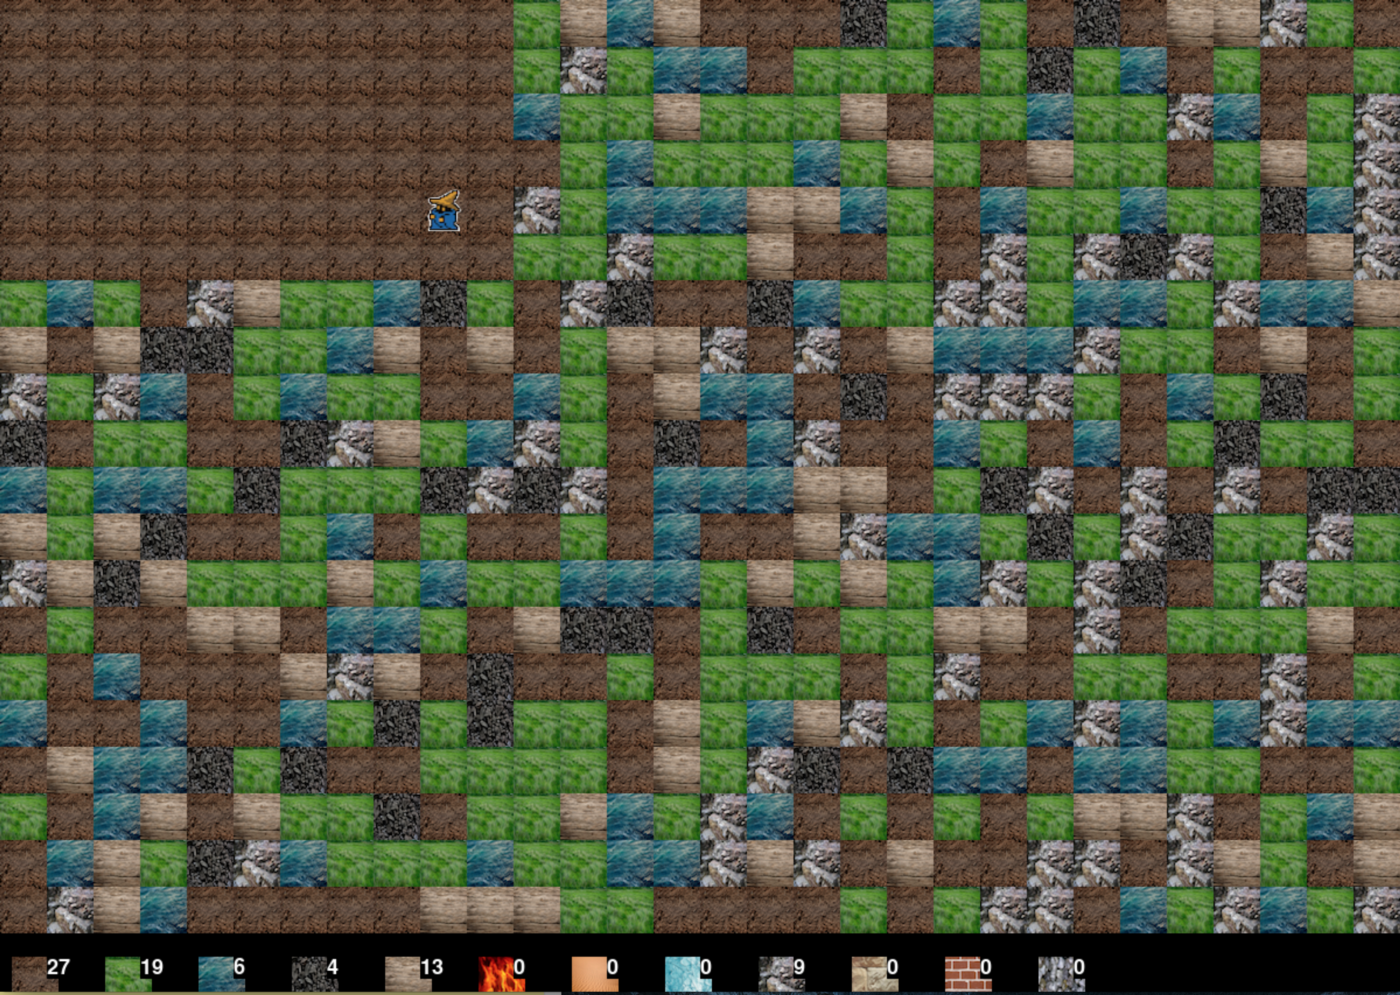
You may notice that there are resources in your inventory that are not on the map. That’s because these resources need to be crafted. In the next section, we will design a crafting system.
Adding a crafting system.
Our crafting system will work because if you press the number key corresponding to the resource, press the mouse button, and have the ingredients in your inventory. It will craft that resource. For example, to create fire, we need one piece of wood. So pressing the ‘6’ key and the left mouse click and having one wood in our inventory will create one fire. This section will also add a way to place resources down on the ground (swapping whatever is on the ground into our inventory). To place a resource down, we will press the number key representing that resource, so to put down the fire we crafted, we press ‘6.’
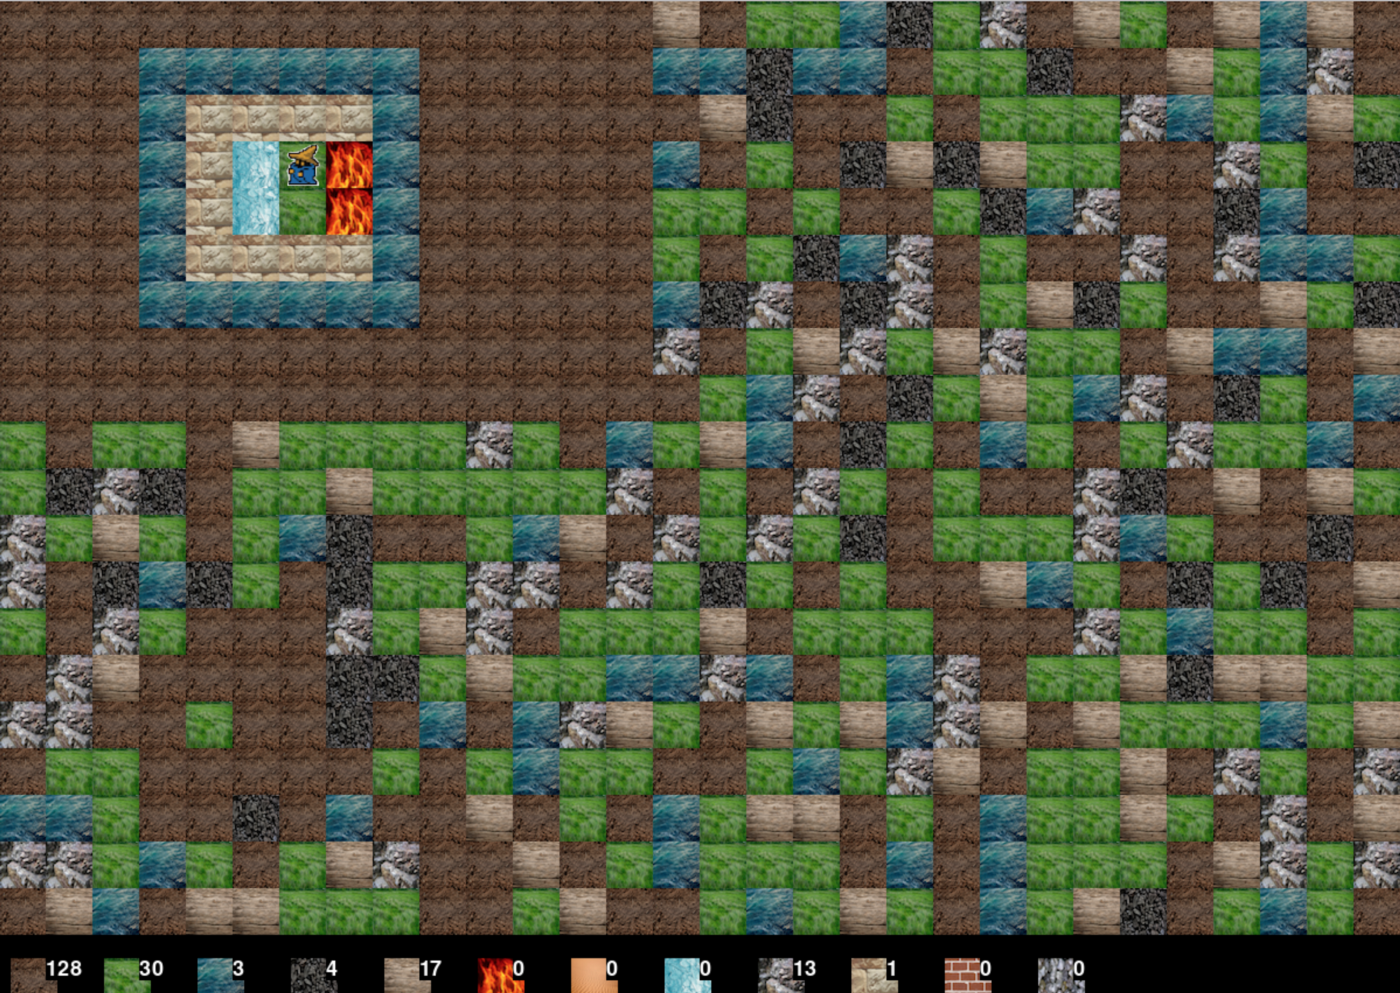
As you can see, I’ve created a moat of water with a stone wall and barrier of fire around my cache of precious glass. We wouldn’t want anyone to steal it. Experiment with this and build stuff if you want. Just remember our game has no saving.
Adding ambient features to your world.
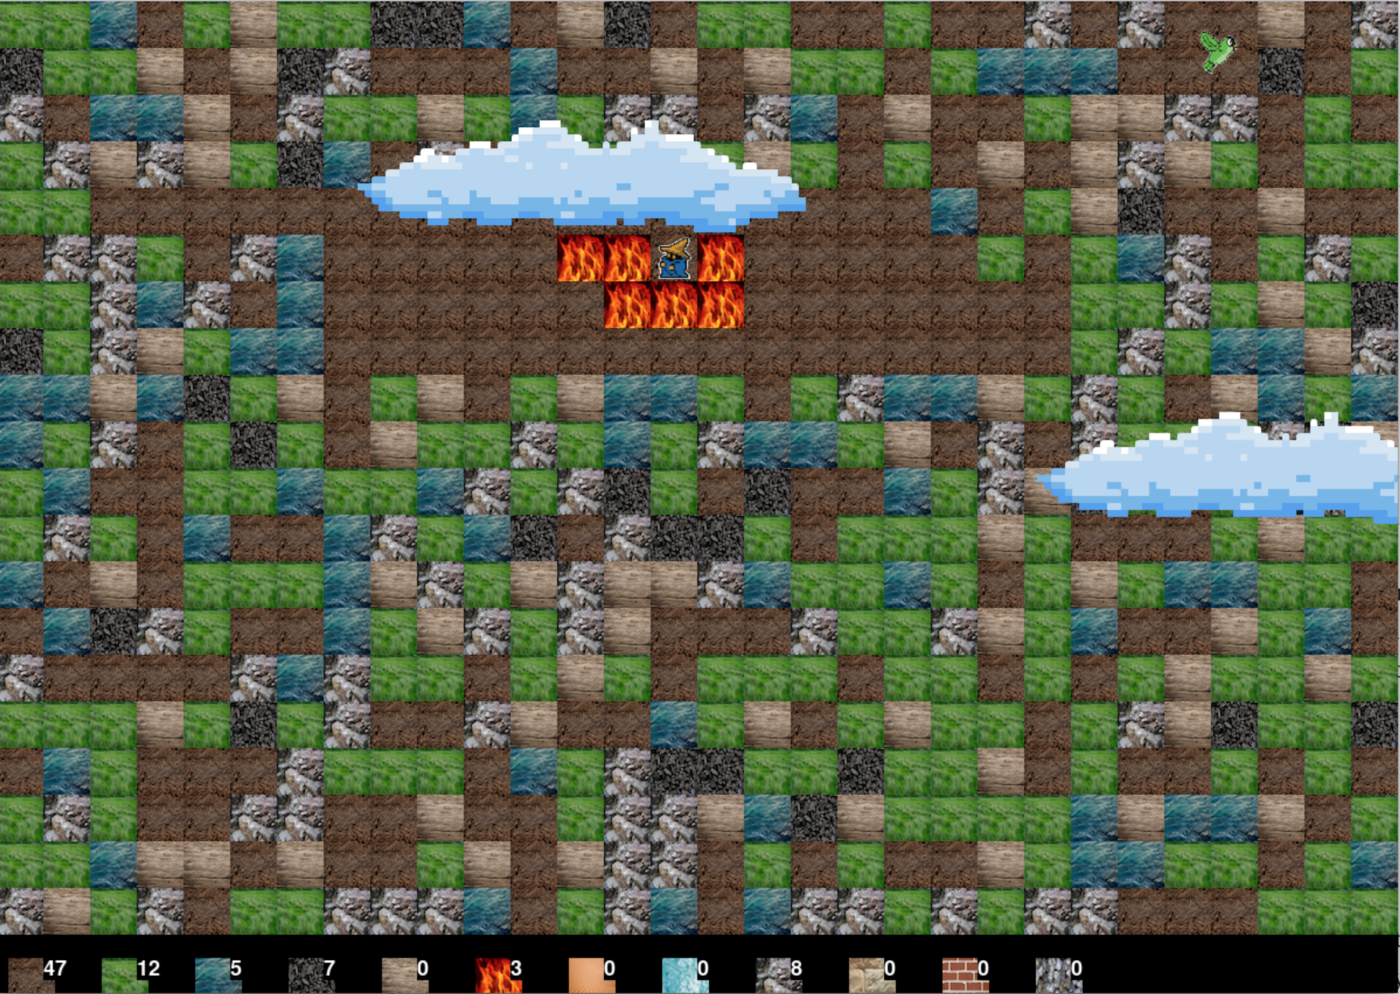
To make our world a little more immersive, we will add a cloud and some birds to the environment. The clouds will move across the map and obscure vision (adding a small element of challenge as you are trying to build). In the last section, you may have noticed that cloud was listed as a resource and in the textures dictionary. While strictly not a resource, it is easier for us to keep using our current way of looking up textures, so we’ll keep it this way.
Typically, we would use something called a sprite for the bird, but I wanted to keep this tutorial simple, so I made my little method that tells us which bird image to animate. If you wait long enough now, you will see two clouds and a bird adding a little bit of life to our game. Check it out:
Conclusion
In a future tutorial I may go over saving games, adding goals to the game, adding enemies that work against you as you try to accomplish your goals. If you liked this tutorial, don’t forget to leave some claps, and you can signup to see more at my newsletter here. All the steps in this post and resources I used to make this game are here on github.
If you enjoyed this post, be sure to signup for more.